area
Description
Area events are the core of the game, the UI for which is the "map screen".
The game starts on the area event called START (all caps), so all campaigns must include an area event called START.
Specific Attributes
| Link | Name | Data Type | Description | Notes |
|---|---|---|---|---|
| LINK | mdata | [ [ event:ID ] ] | A list of the events to be shown on the map. | |
| LINK | layer | [ String ] | A layer image(s) to be applied to this area. |
mdata
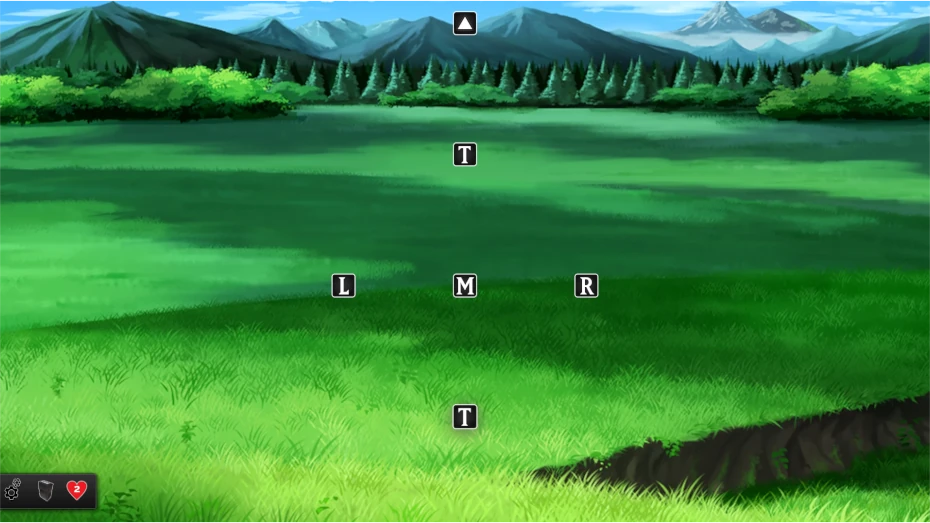
mdata ("map data") is an [Array] containing any number of [Arrays], each of which contain event:ids - These are the icons on the map.
The map is drawn upside-down relative to how it is displayed.
> This means that the first element in the Array is the first map icon that can be clicked on.
Multiple EventIds in the same Array ("on the same line") will be displayed horizontally, providing the player with a choice of which to click on.
You can include "none" instead of an event:id. If you do, the same amount of space is taken up when drawing the map icon, but the icon itself will be invisible.
"area": {
    "START": {
        "image": "area1.webp",
        "audio": "bgm1",
        "mdata": [
            ["text:T"],
            ["text:L" , "text:M" , "text:R"],
            ["text:T"],
            ["area:secondArea"]
        ]
    },
    "secondArea": {
        "micon": "arrow_pointing_upwards.webp",
        "image": "maps2.webp",
        "audio": "bgm2",
        "mdata": [
            ["text:L", "text:M", "text:R"]
        ]
    }
}
layer
You can add a layer effect to an area event.
A layer is an image from your /background/ folder that will be applied over the map screen.
The data for the layer is specified in settings.json.
"EVENTS.JSON": {
    "area": {
        "START": {
            "image": "sogen.webp",
            "layer": "smoke",
            "mdata": [
                ["...your events go here..."]
            ]
        }
    }
},
"SETTINGS.JSON": {
    "layers": {
        "smoke": {
            "image": "smoke.webp",
            "direction": "right",
            "speed": 0.7
        }
    }
}